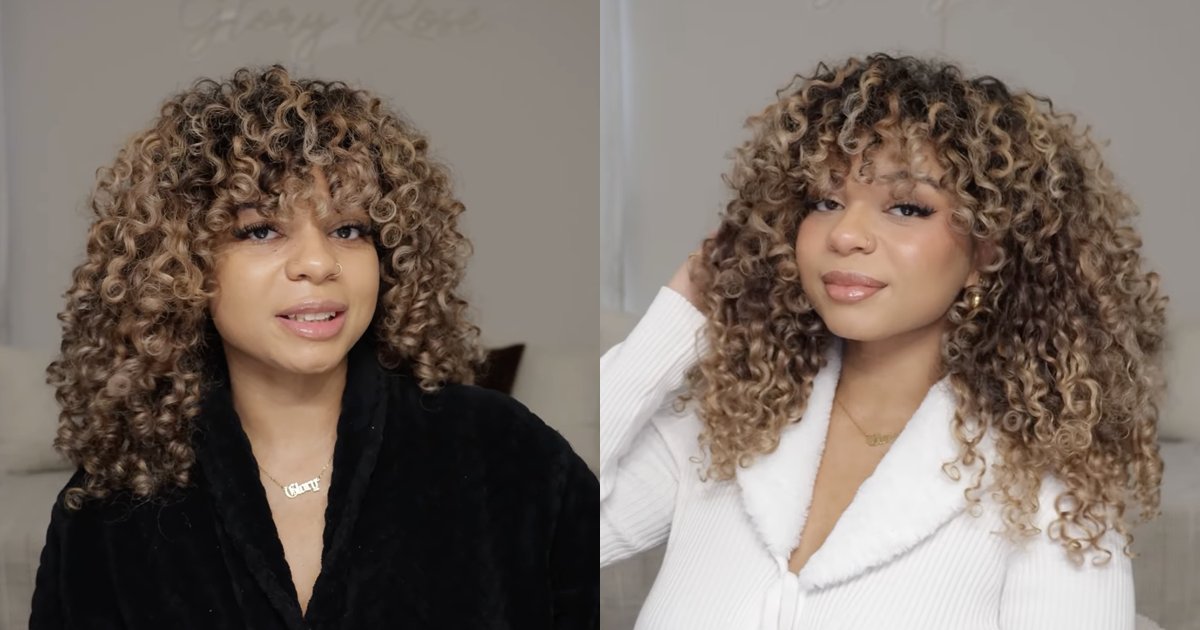
Curly clip-in extensions are one of the fastest ways to add length, volume, and curl definition without any commitment to a salon appointment schedule. But curly texture comes with its own installation logic — you're not just clipping in length, you're matching a curl pattern so the blend disappears.
Here's exactly how to install the BELLAMI Curly Clip-Ins in 16" Dark Brown-Ash Brown Ombre for a seamless 3A curl match — whether you're installing them yourself at home or having a stylist put them in for you.
What You'll Need
- BELLAMI Curly Clip-Ins, 16" Dark Brown-Ash Brown Ombre (3A)
- A rat-tail comb or brush with wide-set bristles
- Sectioning clips
- A curl-friendly styling product (curl cream, mousse, or a light curl-defining gel)
- A diffuser attachment, if you're refreshing curls after install
Step 1: Prep Your Natural Hair
Curly hair holds extensions best when it's clean, detangled, and already in its natural curl pattern — not blown out straight. If your curls need refreshing, do that first with your usual routine (co-wash, leave-in, and a light scrunch with a diffuser) and let hair dry most of the way before you start.
Avoid heavy oils or serums right at the roots where the clips will attach — a slippery root can cause slipping throughout the day.
Step 2: Section Your Hair
Starting at the nape of your neck, part off a horizontal section of hair about one to two inches above your hairline. Clip the rest of your hair up and out of the way.
This bottom-up sectioning approach is the same one professional stylists use, because it lets each new weft hide the one below it, building a natural layer of coverage as you move up the head.
Step 3: Backcomb the Root for Grip
At the base of your sectioned hair, lightly backcomb (tease) a small amount of hair at the root. This creates texture for the clip to grip onto, which matters even more with curly hair since curl patterns already have volume that can make clips feel less secure than they would on straight hair.
A few light strokes with a rat-tail comb is enough — you're not trying to create a dense knot, just a little traction.
Step 4: Clip In the First Weft
Open the clips on your first weft (usually the widest one) and position it horizontally along the section you teased, right at the root. Snap each clip closed, starting from the center and working outward, pressing each clip down toward the scalp until it's secure.
Let the curls from this first weft fall naturally over the section of hair below it before moving on.
Step 5: Work Your Way Up
Release a new horizontal section about one to two inches above the weft you just installed. Repeat the backcombing and clipping process, working your way up the back and sides of your head.
As you get higher, switch to the narrower wefts included in your set — these are designed for the sides and crown, where you need coverage without excess bulk.
Step 6: Blend the Curl Pattern
This is the step that makes curly clip-ins look seamless rather than obviously added. Once all wefts are in, use your fingers (not a brush, which can disrupt curl clumps) to gently combine your natural curls with the extension curls, section by section.
Twist small pieces of natural hair together with the extension hair right at the point where they meet, then let go and allow the curls to reform together. This helps the two curl patterns "clump" as one instead of sitting as separate, visibly distinct layers.
Step 7: Refresh and Set
If your curls have loosened at all during install, apply a small amount of curl cream or gel to your palms, scrunch it through the blended sections, and diffuse on low heat until curls are set. This step also helps everything — natural hair and extensions — settle into one cohesive curl pattern.
Step 8: Final Check
Run your fingers along your part and around your hairline to make sure no clips are visible and every weft is angled with the curl pattern rather than against it. Give your head a gentle shake — if everything holds and moves naturally, you're done.
Prefer to Have It Installed for You?
Curly clip-ins are fully wearable at home, but if you'd rather have a professional handle the sectioning and blending — especially for a first install — a certified BELLAMI stylist can do it in a fraction of the time. Find a BELLAMI stylist near you.
Looking for a Different Curl Pattern or Shade?
The 16" Dark Brown-Ash Brown Ombre is one of several curl patterns and shades built specifically for textured hair. If 3A isn't your match, explore the full range of textured hair extensions to find the curl pattern and color that blends with your natural texture.


